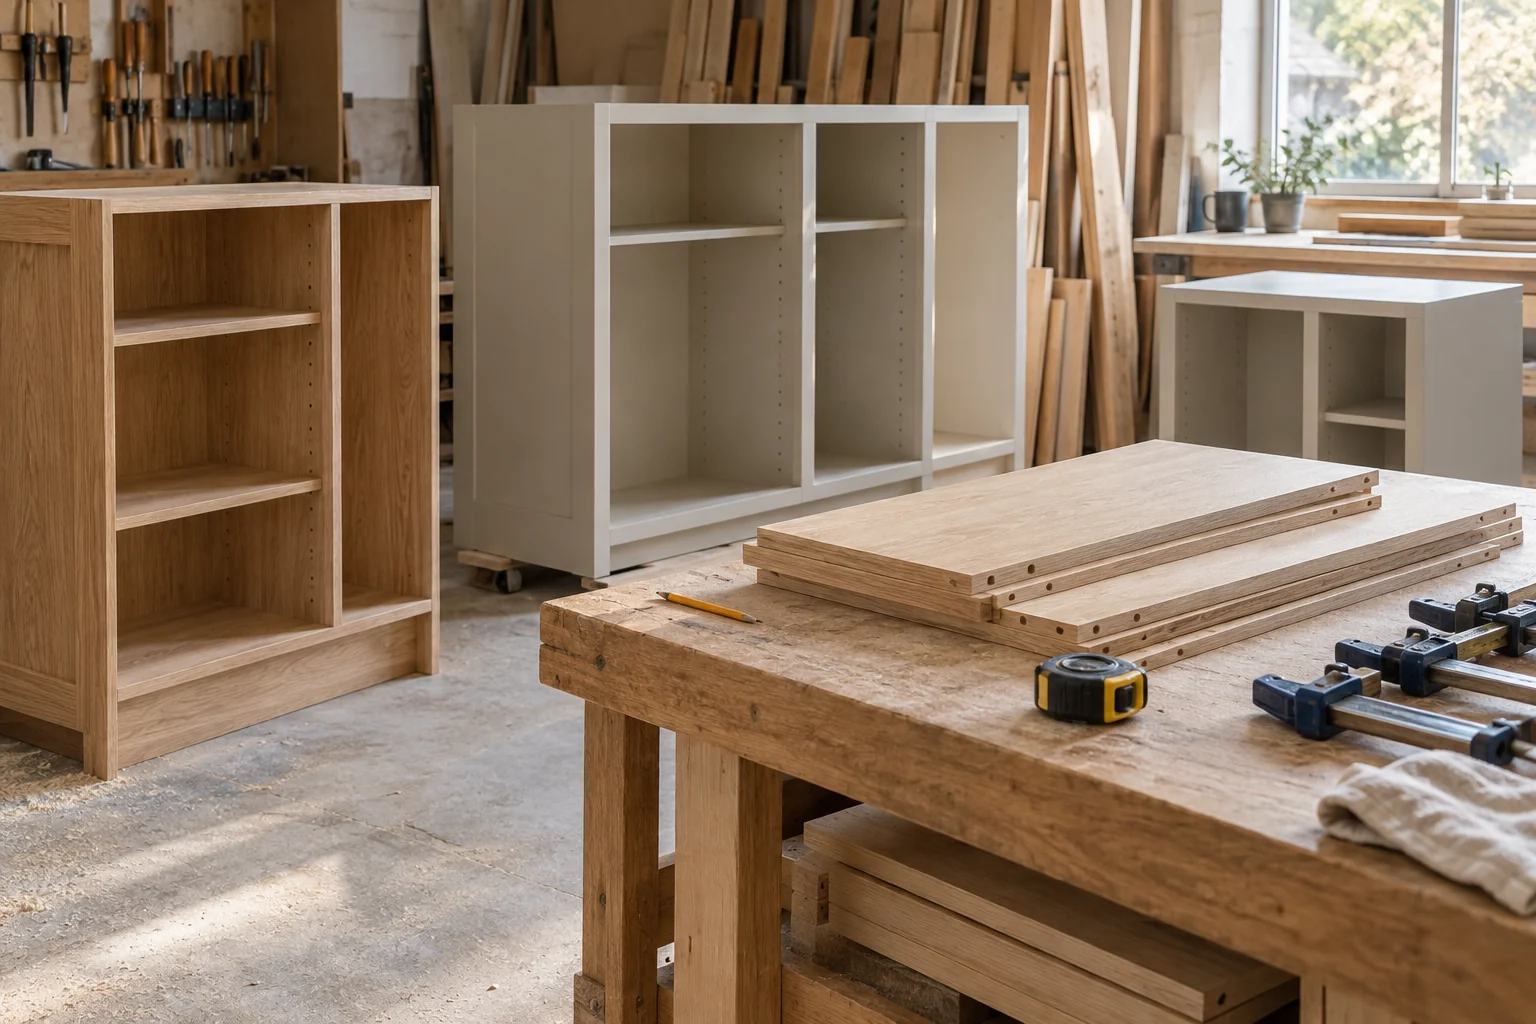
The days spent installing built-ins are only one part of the schedule. Before the team arrives with finished components, the project needs a layout, measurements, material selections, an agreed scope and time for fabrication. Asking “When could the room be finished?” is more useful than asking only how many days installation takes.
For a library wall, media storage or mudroom installation, the sequence below helps you understand what happens and which decisions can affect timing.
Step 1: Define what the built-in needs to hold
Begin with an inventory. Books, toys, office equipment, shoes and display pieces require different depths and storage arrangements. Photograph the room and measure any objects that must fit. Share your city, approximate dimensions and inspiration images.
An early conversation should establish whether the idea fits the space and what information is still needed. It is not the same as a fabrication-ready design.
Step 2: Measure and resolve the layout
Detailed planning accounts for the room's actual conditions: corners, baseboards, ceiling changes, doors, outlets and anything the cabinetry must avoid. A wall that looks rectangular in a photograph may need more careful fitting.
Confirm open shelves versus doors, desk height and legroom where relevant, equipment locations and how doors or drawers will open. These decisions influence the components that need to be made.
Step 3: Agree the design and scope
Review the drawing or visualization together with the written scope. Check dimensions, finish, hardware, lighting and what is included in installation. A picture alone may not communicate all those details.
This is the time to make changes. A later request for additional drawers, a different finish or a larger desk may affect materials, fabrication and scheduling. Ask for any change and its implications to be documented.
Step 4: Order, fabricate and finish
Material and hardware availability can affect when fabrication proceeds. Components may also need finishing before they are ready to handle and install. The order of work depends on the construction and finish, so do not assume every project follows an identical shop schedule.
Ask which selections must be final before work starts and whether anything has a longer lead time. Keeping those decisions together is often more useful than chasing an optimistic installation date.
Step 5: Prepare the room and install
Agree how furniture and belongings will be moved, which access route the team will use and which areas need to remain clear. Discuss household routines, pets and work-from-home needs before installation day.
Installation may include positioning, fitting to the room, securing components, adjusting doors and completing agreed finishing work. Wall Design Solutions describes many installations as typically taking 1–3 days, but the actual duration depends on scope and should be confirmed for your project. That estimate does not include all the time before installation.
Step 6: Walk through the result
Check doors, drawers, shelves and any included lighting with the team. Ask about cleaning, hardware adjustment and the finish information to keep. Record any agreed follow-up items rather than relying on memory.
Questions to ask about the schedule
- What needs to be decided before materials are ordered?
- Is the proposed date for fabrication, installation or completion?
- What could move the installation date?
- Are electrical or other partner tasks coordinated separately?
- How will a requested change affect the schedule?